
Sweep Weekly, Reseal 3–5 Years: Paver Patio Maintenance for Homeowners
- Installed per sq ft
- $18–$35
- Typical 400 sq ft patio (with fire pit)
- $9,000–$14,000
Sweep Weekly, Reseal 3–5 Years: Paver Patio Maintenance for Homeowners
Sweep your patio weekly, rinse it monthly, and give it a deep clean once or twice a year. Reseal periodically and never let joint sand run low, since that’s what stops weeds cold. Skip the high-pressure washer unless you know exactly what you’re doing, following guidance on pressure-washing from How To Maintain Pool Surface For Long-Lasting Results, and call a contractor the moment you see pavers sinking or water pooling where it shouldn’t.
TL;DR:
- Regular joint sand replenishment is essential every 3 to 5 years, and sealing should follow the manufacturer’s schedule for lasting protection.
- Avoid high-pressure washing over 2,000 PSI, as it can damage paver surfaces and strip joint sand, making mechanical brushing safer.
- Weeds in paver joints stem from sand loss and require timely removal, joint refilling, and proper activation of polymeric sand to prevent re-invasion.
- Deep cleaning with mild detergents should be done once or twice annually, while routine rinsing and debris removal are monthly tasks.
- Contact a professional if you notice persistent settling, pooling water, or sinking pavers, as these issues indicate foundation or drainage problems.
Table of Contents
- What Does Regular Paver Patio Maintenance Actually Involve?
- How Do You Clean Pavers and Remove Stains Safely?
- Why Do Weeds Keep Coming Back Between Your Pavers?
- When Should You Reseal a Paver Patio?
- What Should Your Seasonal Patio Checklist Look Like?
- How Do You Know When a Patio Needs Professional Repair?
- A Contractor’s View on Paver Upkeep
- Keep Your Patio Looking New With Professional Help
- Sources
- FAQ
What Does Regular Paver Patio Maintenance Actually Involve?
Most homeowners overthink paver care until they see it broken into a simple rhythm. The tasks are small and repetitive, not seasonal overhauls, and that’s exactly why the Concrete Masonry and Hardscapes Association treats it as a preventative cycle. Skip the small stuff and you eventually pay for the big stuff, usually in the form of base repairs.
Here’s the routine broken down by frequency:
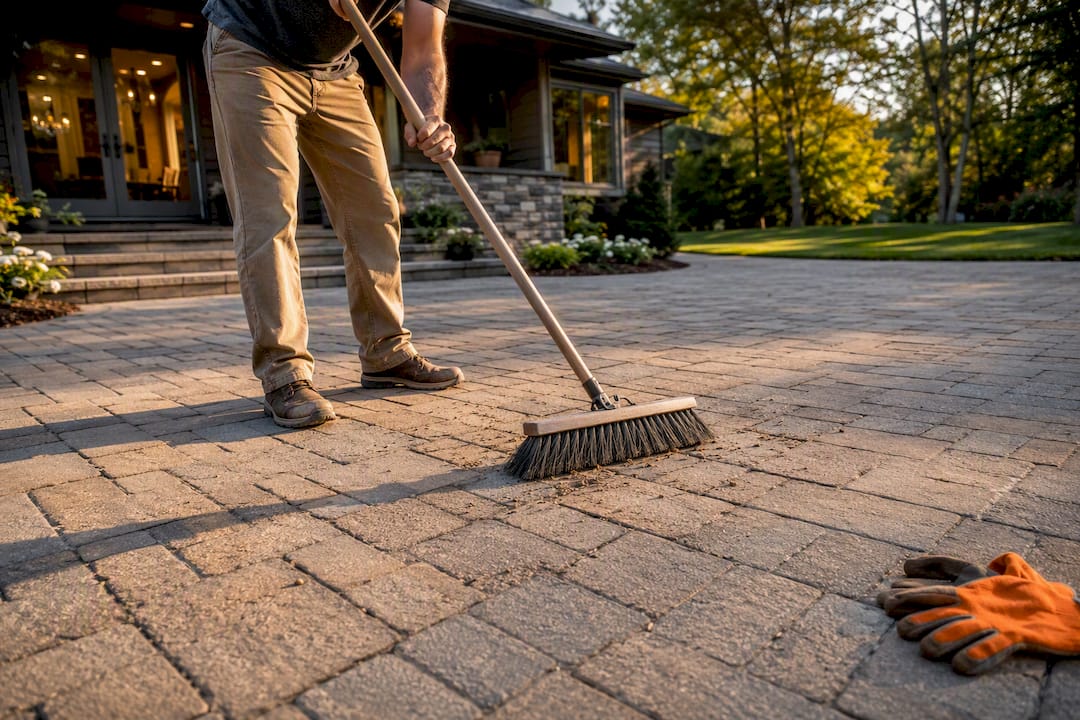
- Weekly: Sweep or blow off leaves, grass clippings, and dirt before they stain or feed weed seeds.
- Monthly: Rinse with a garden hose, check joints for sand loss, and spot-treat any new stains before they set.
- Twice a year: Deep clean with a mild detergent and a stiff-bristle brush, and look closely for efflorescence, the white haze that sometimes appears on new concrete pavers.
- Every 3 to 5 years: Reseal, following manufacturer prep guidance from brands like Belgard.
- Tool notes: Keep pressure washers under 3,000 PSI with a wide fan tip, and use calcium-chloride or sand-based de-icers instead of rock salt, which pits paver surfaces.
How Do You Clean Pavers and Remove Stains Safely?
Cleaning pavers wrong causes more damage than dirt ever will. High-pressure blasts can strip joint sand and etch softer paver faces, which is why Prosoco recommends low-pressure washing or mechanical brush cleaners for most surfaces. Here’s the sequence that works without wrecking anything:
- Dry removal first. Sweep or leaf-blow loose debris so you’re not grinding grit into the surface.
- Rinse the whole area. A standard hose nozzle handles this fine for routine upkeep.
- Deep clean when needed. Mix a mild detergent, scrub with a stiff brush, or use a power washer under 2,000 PSI held at least 12 inches from the surface with a 40 degree fan tip.
- Treat stains individually. Absorb fresh oil spots with kitty litter or sand, then apply a degreaser; use an oxygenated cleaner for organic stains and a rust remover for metal marks, always testing on a hidden patch first.
- Rinse thoroughly. Leftover cleaner residue attracts new dirt fast.
Pro Tip: Keep a spray bottle of diluted dish soap on hand for grill grease. Caught within an hour, most oil stains never get the chance to soak into the paver’s pores.
Tannin stains from leaves or mulch respond well to oxygenated cleaners, but skip anything with bleach near lawn edges or planting beds.
Why Do Weeds Keep Coming Back Between Your Pavers?
Weeds don’t grow through pavers, they grow in the joints where sand has washed away, and moss follows wherever shade keeps things damp. Once that gap opens up, seeds land, roots take hold, and the same weed you pulled last month is back within weeks.
- Remove what’s there. Hand-pull or use a crevice tool for small weeds; for stubborn growth, a mechanical joint cleaner or careful spot application of herbicide works better than nothing.
- Skip the vinegar hacks. Boiling water and vinegar kill the visible growth but rarely touch the root system on established weeds, so they’re back fast.
- Refill the joints. Clean and fully dry the joints, then apply polymeric or regular sand depending on your climate and joint width.
- Activate polymeric sand correctly. It needs a light, controlled misting, not a soaking, to harden properly without staining the paver face.
- Check your edge restraint. Sand only holds if the perimeter pavers aren’t shifting; loose edging undoes the whole job.
Pro Tip: Wider joints and certain paver patterns lose sand faster than others, so if you’re constantly re-sanding the same spot, the pattern itself might be part of the problem.
Once joints stay full, weed pressure drops dramatically, since Unilock’s research shows sand loss is the primary opening weeds exploit. A pre-emergent applied in early spring adds another layer of protection in beds bordering the patio.
When Should You Reseal a Paver Patio?
Sealing protects color and locks joint sand in place, but timing matters more than most homeowners realize. Fresh concrete pavers need time for efflorescence, that white mineral bloom, to surface and wear off before sealer traps it underneath permanently.
- Wait window: Give new installations 60 to 90 days minimum before the first seal, longer if efflorescence is still visible.
- Reseal cadence: Every 3 to 5 years for most sealers, matching the schedule Belgard recommends for lasting protection.
- Prep work: Deep clean first, let the surface dry completely (24 to 48 hours depending on humidity), top up any low joints, and test a small section for color reaction.
- Application: Use a low-pressure pump sprayer or roller in thin, even coats, working in the shade to avoid flash-drying that causes streaking.
- Common mistakes: Sealing a damp surface traps moisture and causes a milky haze, while resealing too often builds up a thick film that peels.
What Should Your Seasonal Patio Checklist Look Like?
Spreading maintenance across the calendar keeps any single task from becoming a weekend-eating project. Nicolock’s seasonal breakdown mirrors what works for most climates: front-load the deep work in spring, stay reactive in summer, and prep hard before winter locks everything down.
Spring
- Deep clean to remove winter grime and salt residue.
- Inspect joints for sand loss after freeze-thaw cycles.
- Check drainage slopes for standing water after snowmelt.
Summer
- Watch shaded corners for algae growth and treat early.
- Respond to spills and stains within hours, not days.
- Avoid harsh chemical cleaners near flower beds and lawn edges.
Fall
- Clear leaves regularly. Wet leaves stain paver surfaces if left sitting.
- Do a pre-winter clean and top up joint sand washed out by fall rain.
- Confirm downspouts and drainage are clear before freezing weather hits.
Winter
- Shovel with a plastic edge, never metal, to protect the surface.
- Use calcium-chloride or sand-based de-icers instead of rock salt.
- Inspect for heaving or cracking after every hard freeze-thaw cycle.
How Do You Know When a Patio Needs Professional Repair?
Most patio issues are cosmetic. A few are structural, and knowing the difference saves you from either overpaying for a simple fix or ignoring a problem that gets worse every winter.
- DIY-friendly fixes: A single rocking paver can be lifted, re-based with a bit of leveling sand, and reset in under an hour. Light sand loss just needs a joint top-up.
- Red flags for a contractor: Repeated settling in the same spot, a noticeable dip that collects water, or more than a few pavers sinking at once usually points to a failing base, not a surface problem.
- Drainage regrading: If water pools against your house or a retaining wall after every rain, that’s a grading issue, not a cleaning one.
- What a visit covers: A qualified contractor will diagnose the base and drainage, not just the surface, and give you a realistic timeline before any pavers vs. concrete decision even comes up.
A Contractor’s View on Paver Upkeep
Homeowners tend to treat patio maintenance as optional until something looks bad, but the CMHA’s preventative framing gets it right: a patio that’s swept, sanded, and resealed on schedule almost never needs a base repair. It’s the neglected ones, the ones where joint sand disappeared three summers ago and nobody noticed, that end up needing a full reset.
Where we draw the line with clients is simple. Sweeping, rinsing, and even sanding joints are jobs any homeowner can handle with an afternoon and the right tools. But once a patio shows sinking, pooling water, or edge restraint failure, that’s a base and drainage problem, and no amount of surface cleaning fixes it. That’s when it’s worth having a crew inspect the grading and sub-base before you spend money resealing a surface that’s about to shift again.
— GC Signature Outdoors LLC
Keep Your Patio Looking New With Professional Help
When a reseal job, a full joint sand reset, or a patio that’s started settling gets past the point of a weekend DIY fix, that’s where GC Signature Outdoors LLC comes in. We build and restore paver patios and outdoor living spaces across the KC Northland area, and unlike a one-off cleaning service, we diagnose the base and drainage first so a reseal actually lasts the full three to five years instead of failing early.

If your patio needs more than a hose and a scrub brush this season, or you’re staring at a paver that’s started to sink, reach out for an inspection. We’ll tell you honestly whether it’s a sanding job or a full reset, and we handle everything from the drainage regrading to the finished surface. You can also browse recent paver and patio projects to see what a properly maintained, professionally built patio looks like a few years in.
Sources
- Hardscape Maintenance and Care Guide — Belgard
- How to Kill Weeds Between Pavers — Unilock
- Hardscaping for all seasons — CMHA
- How to clean patio pavers without damaging the surface — Prosoco
- Paver patio maintenance that keeps your outdoor space ready every season — Nicolock
FAQ
What maintenance does a paver patio need?
A paver patio needs weekly sweeping, monthly rinsing, a deep clean once or twice a year, periodic joint sand top-ups, and resealing every three to five years to protect color and integrity.
How often should you sand and seal pavers?
Check joint sand levels monthly and refill as soon as gaps appear; reseal on a three to five year cycle, following the schedule Belgard recommends for most paver types.
Are you supposed to pressure wash pavers?
Low-pressure washing under 2,000 PSI with a wide fan nozzle is generally safe, but high-pressure settings can strip joint sand and damage the paver surface, so mechanical brush cleaning is often the safer choice.
How do I make my patio pavers look new?
A thorough deep clean with detergent and a stiff brush, stain treatment where needed, fresh joint sand, and a fresh coat of sealer will restore most of a patio’s original color and shine.
When should I call a contractor instead of doing it myself?
Call a contractor if you see repeated settling, standing water after rain, or several pavers sinking at once, since those point to base or drainage failure that surface fixes won’t solve.
Recommended
Ready to get started in Kansas City's Northland?
GC Signature Outdoors serves Smithville, Platte City, Kearney, Liberty, and surrounding areas.