
Save Water Fast: 3 Drought Tolerant Landscaping Moves for Homeowners
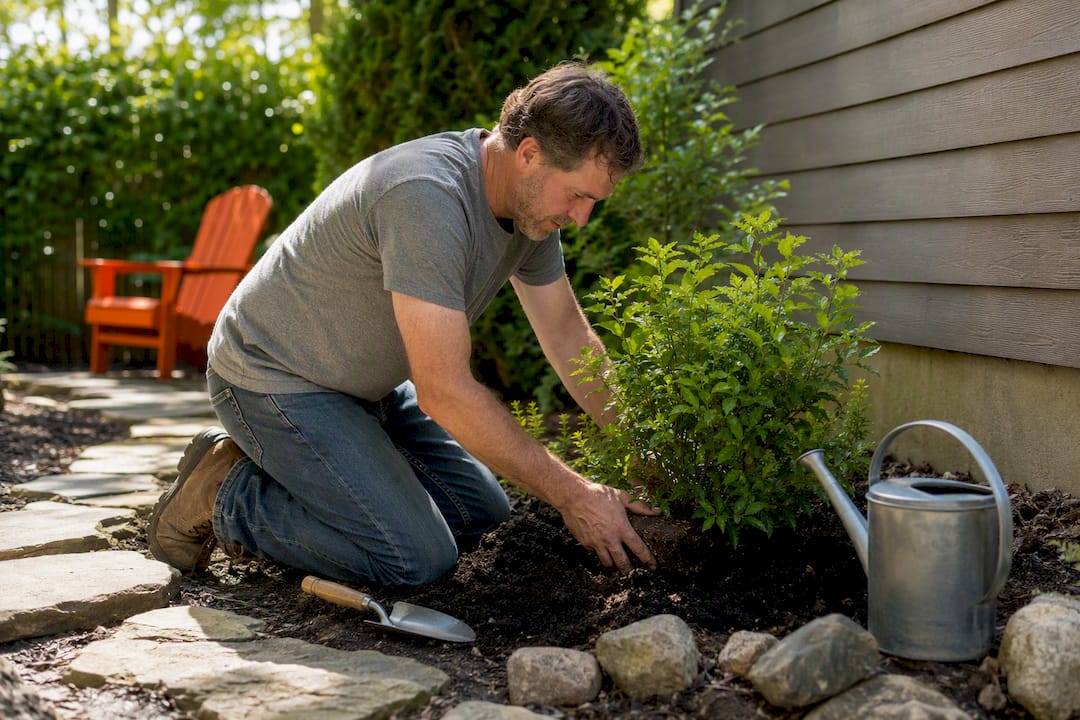
Save Water Fast: 3 Drought Tolerant Landscaping Moves for Homeowners
Drought tolerant landscaping cuts outdoor water use dramatically while still delivering a full, layered yard homeowners actually want to look at. The fastest wins come from three moves: shrink your turf footprint, group plants by water need (hydrozoning), and switch to deep, infrequent watering through drip irrigation. Give new plantings several growing seasons to establish before expecting them to thrive on minimal water before expecting them to thrive on minimal water.
TL;DR:
- Shrinking turf areas and grouping plants by water needs can significantly reduce outdoor water use, especially in dry regions where lawns require constant irrigation.
- Proper soil prep, organic mulch application, and deep, infrequent drip watering establish drought-tolerant plants more successfully, reducing long-term maintenance.
- Maintaining a balanced lawn by keeping turf only where heavily used and replacing other areas with native ground covers or meadows prevents unnecessary water waste.
- Installing drip irrigation systems with weather-based controllers and manually checking emitters ensures maximum water efficiency during establishment and beyond.
- Effective landscaping design incorporates permeable pavers, terracing, rain gardens, and strategic layering to create a lush appearance while conserving water and reducing runoff.
Table of Contents
- What Is Drought Tolerant Landscaping, Exactly?
- Where Do You Start Converting Your Yard?
- How Do You Choose Plants and Set Up Hydrozones?
- Getting Soil, Mulch, and Establishment Watering Right
- Should You Remove Your Lawn Entirely?
- Which Irrigation Setup Actually Saves Water?
- What Design Ideas Keep a Water-Wise Yard Looking Good?
- How Do You Maintain a Drought Tolerant Yard Season to Season?
- Why Pro Installation Often Beats a DIY Approach
- Ready to Build a Water-Wise Yard That Lasts?
- Where to Go for Deeper Technical Guidance
- Sources
- FAQ
What Is Drought Tolerant Landscaping, Exactly?
The industry term for this approach is xeriscaping, a water-wise design method that originated in Denver in the 1980s and combines site planning, hydrozoning, soil improvement, mulch, and efficient irrigation into one system. “Drought tolerant landscaping” is the phrase most homeowners search for, but xeriscaping design and waterwise landscaping mean the same thing in professional circles, and you’ll see all three used interchangeably in extension bulletins and design guides.
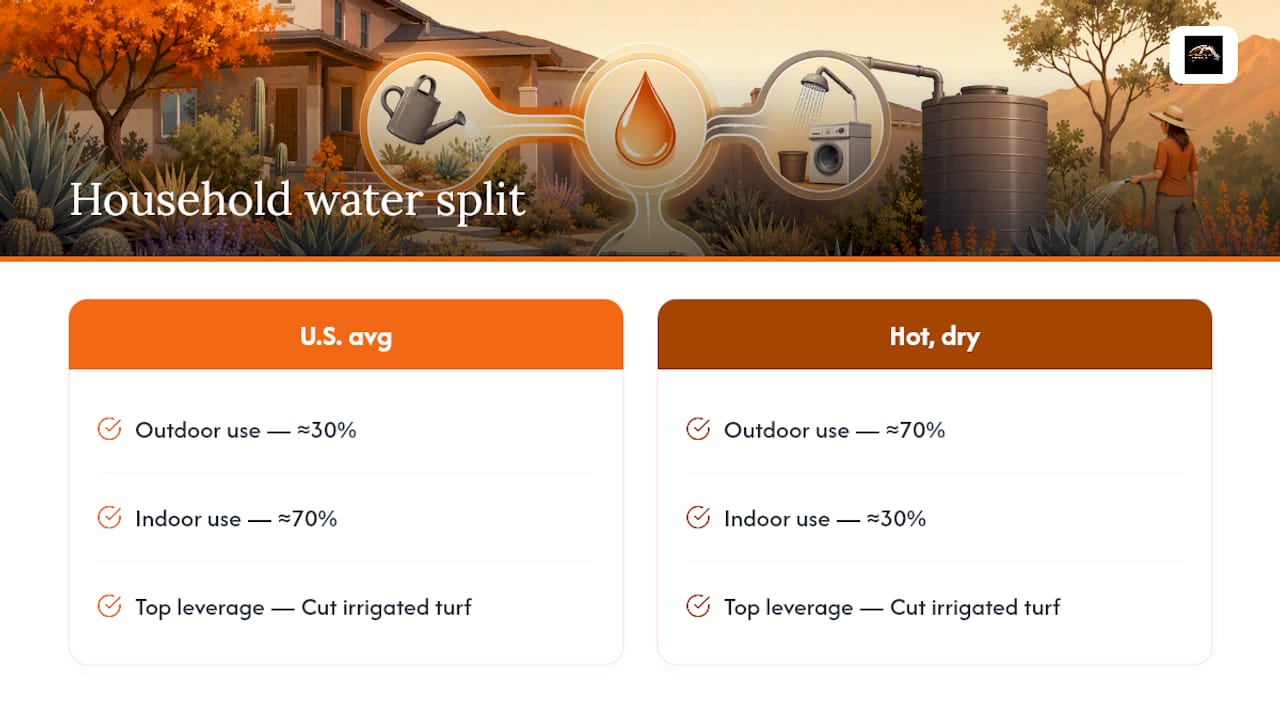
The payoff is bigger than most people expect. Outdoor water use accounts for roughly 30% of total household water use across the U.S., and that figure climbs as high as 70% in hot, dry regions where lawns need constant irrigation just to survive summer. Cutting your irrigated turf area, even partially, is the single highest-leverage change you can make to a water bill and a landscape’s long-term resilience.
Where Do You Start Converting Your Yard?
Before you buy a single plant, walk your property with a notepad. The order below keeps you from wasting money on plants or irrigation that fight your site instead of working with it.
- Map your site. Note full sun, part shade, and full shade zones, plus slope direction and low spots where water naturally collects.
- Identify microclimates. A south-facing wall radiates heat; a low corner near a downspout stays damp longer than the rest of the yard.
- Decide what turf stays. Keep grass only where you actually use it for play, pets, or gathering space, and plan to replace the rest.
- Build your hydrozones. Group plants with similar water needs together so you’re never irrigating a thirsty hydrangea next to a drought-hardy sedum.
- Improve the soil and mulch. Work organic matter into planting beds, then top with 2 to 3 inches of mulch, kept clear of stems and trunks.
- Install drip irrigation. Set it for long, deep cycles that train roots downward rather than short daily sips.
- Capture rainfall on site with a shallow swale or rain garden wherever grading allows it.
How Do You Choose Plants and Set Up Hydrozones?
Hydrozoning means grouping plants into high, medium, and low water zones so your irrigation matches actual need instead of watering everything the same way. Grouping plants this way and watering deeply but infrequently encourages deeper root systems than the shallow-rooted, drought-vulnerable growth that comes from frequent light sprinkling.
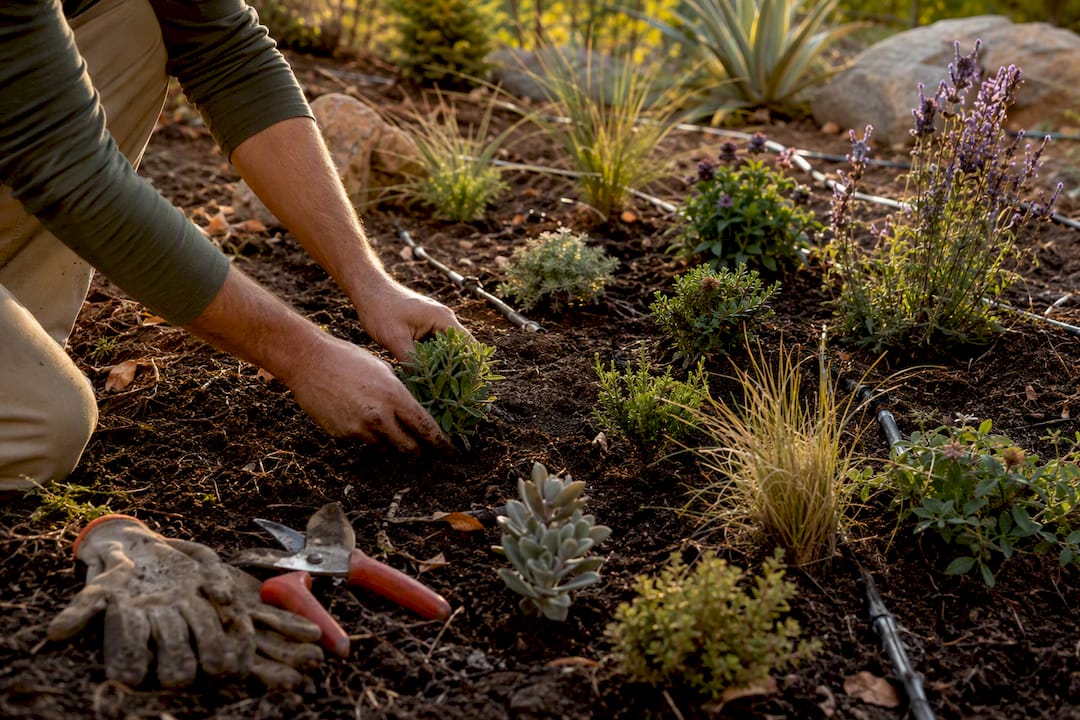
Map your zones by walking the yard at different times of day. Areas near downspouts or low points become your “medium” zone for plants that appreciate occasional extra moisture. Full-sun slopes and parking strips become “low” zones for the toughest species. Anything near a patio or entry where you want a soft, green look can be your smaller “high” zone, kept intentionally compact.
For plant choices, work with what suits your region’s native palette and adaptable, low-water species:
- Full sun, low water: ornamental grasses, yarrow, Russian sage, sedum, and native wildflower mixes
- Part shade: coral bells, hellebore, and native ferns suited to drier shade
- Full shade, low water: epimedium and native sedges
- Small trees and shrubs: serviceberry, smoke bush, and other regionally native species once established
Pro Tip: Plant closer together than instinct tells you to. A drought-tolerant garden reads as lush, not sparse, when you layer canopy, shrubs, and groundcovers instead of scattering a few specimen plants across bare mulch. Repetition of three or four species throughout a bed also does more for a designed look than a random assortment of one-of-everything.
Getting Soil, Mulch, and Establishment Watering Right
Soil structure decides whether water soaks in or runs off, so amend clay or compacted beds with compost before planting anything. A few inches worked into the top layer of soil improves infiltration and gives new roots something to grow into instead of fighting hardpan.
Mulch does double duty: it blocks evaporation and buffers soil temperature swings that stress new roots. A layer of 2 to 3 inches of organic mulch is the standard recommendation, and that depth alone can meaningfully cut moisture loss compared to bare soil.
- Keep mulch pulled back several inches from trunks and plant crowns; piled mulch traps moisture against bark and invites rot.
- Water new plantings deeply two to three times a week for the first few months, then taper gradually.
- Expect the true establishment period to run one to three years, not one summer, before roots are self-sufficient on rainfall alone.
- Avoid daily shallow watering. It keeps roots near the surface and makes plants more vulnerable, not less, when a dry spell hits.
Even genuinely drought-tolerant species need consistent deep watering while roots establish. Skipping this step is the most common reason DIY drought landscapes fail in year one even though the plant list was correct.
Should You Remove Your Lawn Entirely?
Not necessarily. Keep turf where it earns its water: play areas, dog runs, spaces where the family actually gathers. Everywhere else, turf is usually the least efficient thing growing in your yard.
- Warm-season, drought-tolerant grass varieties recover from heat stress and dormancy far better than typical cool-season lawns once established.
- Native meadow patches replace mowed turf with deep-rooted grasses and wildflowers that need far less water and virtually no mowing.
- Low-water groundcovers fill smaller transition areas where you still want green coverage without a lawnmower.
- A permeable paver patio can replace turf in activity zones, giving you usable hardscape instead of grass that needs weekly water and mowing.
Our guide on drought tolerant grasses breaks down which varieties actually hold up through a dry Midwest summer.
Which Irrigation Setup Actually Saves Water?
Drip and soaker systems are the right call for mixed planting beds because they deliver water at the root zone with almost no evaporation loss, unlike spray heads that mist half their output into the air. Reserve spray or rotor heads for the turf areas you’re keeping.
- Weather-based and WaterSense-labeled irrigation controllers adjust run times automatically based on recent rainfall and temperature, so you’re not manually managing a schedule every week.
- WaterSense recommends using its Water Budget Tool to set an appropriate landscape water allowance, then having a certified irrigation professional audit the system for leaks, poor head placement, and mismatched zones.
- Water early morning, before 10 a.m., to limit evaporation, and run cycles long enough to soak 6 to 8 inches down rather than wetting just the surface.
- Fewer, longer watering sessions beat frequent short ones almost every time, for lawns and beds alike.
Pro Tip: Check your drip emitters twice a season. A clogged or popped-off emitter can leave a plant bone dry for weeks while everything around it looks fine, and it’s the most overlooked failure point in an otherwise well-designed system.
What Design Ideas Keep a Water-Wise Yard Looking Good?
The biggest design mistake is treating drought tolerance as a gravel-and-cactus aesthetic. Layering plant heights, repeating a few key species, and adding seasonal color accents reads as intentional and full, where sparse single specimens surrounded by rock read as an afterthought.
- Permeable pavers and gravel paths cut irrigated square footage while adding texture and function for walkways.
- Terracing on slopes slows water runoff and creates distinct planting pockets instead of one steep, hard-to-water bank.
- Shallow rain gardens and berms capture roof and driveway runoff, letting it soak in slowly instead of sheeting into the street; grade them so water moves away from foundations and neighboring yards, never toward them.
- Boulders and larger stone accents work best as punctuation, not as the entire palette. For guidance on using rock without going sparse, this rock landscaping build guide covers proportion and placement well.
For more layout inspiration, see our front yard landscaping ideas.
How Do You Maintain a Drought Tolerant Yard Season to Season?
Maintenance drops sharply once plants establish, but a few seasonal checks keep problems from compounding.
- Spring: Inspect drip lines and emitters after winter, refresh mulch to the full 2 to 3 inches, and prune lightly to shape rather than stimulate heavy new growth.
- Summer: Watch for drought stress (dull, curling, or drooping leaves) versus transplant shock (similar symptoms, but on plants installed within the last few months); both usually mean more consistent deep watering, not less.
- Fall: Cut back on fertilizer during hot, dry stretches. Feeding a stressed plant pushes new growth it can’t support on limited water.
- Anytime: If a plant hasn’t rebounded after a full establishment season of proper watering, replace it rather than nursing it indefinitely. Not every species suits every microclimate, and that’s fine.
Our lawn watering schedule guide covers the turf side of this in more depth if you’re keeping any grass areas active.
Why Pro Installation Often Beats a DIY Approach
GC Signature Outdoors LLC builds drought-tolerant landscapes around the same fundamentals covered here: hydrozone-based design, proper soil prep, drip irrigation installed correctly the first time, and mulch depth that actually protects roots. DIY conversions often fail at grading and establishment watering, the two steps that are hardest to see and easiest to underestimate. Professional installation staged in the right order, soil before irrigation before planting, cuts plant loss significantly during that critical first year.
— GC Signature Outdoors LLC
Ready to Build a Water-Wise Yard That Lasts?
GC Signature Outdoors LLC handles the whole conversion so you’re not juggling a soil contractor, an irrigation installer, and a planting crew separately. Our design-build team maps hydrozones, corrects soil and grading, installs drip irrigation, lays proper mulch depth, and plants a layered palette suited to KC Northland conditions, so establishment watering happens on schedule instead of getting missed.

If your yard has a thirsty lawn eating your water bill or bare patches where past plantings failed, our landscape design and planting services are built for exactly that fix. Browse real installs in our project gallery, or if mulch and bed cleanup is the immediate need, check mulch installation. Ready to see what a drought-tolerant conversion would cost for your specific yard? Request a quote and we’ll walk your property with you.
Where to Go for Deeper Technical Guidance
Start with the EPA WaterSense Water Budget Tool for irrigation planning, and check your local university extension office for region-specific plant lists before finalizing your palette.
Sources
- Outdoor water use statistics — EPA WaterSense
- Drought-tolerant garden design that looks lush — Gardenia
- Essential gardening tips for drought conditions — NC State Extension (Durham)
FAQ
How Do You Design a Drought-Tolerant Landscape?
Start by mapping sun, shade, and drainage across your property, then group plants into hydrozones by water need, improve soil with organic matter, mulch 2 to 3 inches deep, and install drip irrigation set for deep, infrequent cycles.
What’s a Good Drought-Tolerant Ground Cover?
Sedum, yarrow, and low-growing native sedges all spread well in low-water zones and outcompete weeds once established, though the right pick depends on your region’s climate and sun exposure.
What Is Drought-Resistant Landscaping Called?
The formal industry term is xeriscaping, sometimes called waterwise landscaping; “drought tolerant landscaping” and “drought resistant gardens” describe the same design approach in everyday language.
How Much Does Drought-Tolerant Landscaping Cost?
Costs vary widely based on yard size, how much turf you’re removing, and whether you install irrigation and hardscape yourself or hire a design-build team; GC Signature Outdoors LLC can provide a specific quote after a site visit.
Recommended
Ready to get started in Kansas City's Northland?
GC Signature Outdoors serves Smithville, Platte City, Kearney, Liberty, and surrounding areas.