
Avoid 5 Sealing Mistakes on Concrete Patios
- Broom-finish flatwork per sq ft
- $8–$15
- Stamped / colored concrete per sq ft
- $15–$25
- Typical 2-car driveway replacement
- $6,000–$13,000
Avoid 5 Sealing Mistakes on Concrete Patios
Seal a concrete patio once the slab is fully cured, clean, and dry, and pass a simple moisture test before opening any sealer can. New pours need a minimum of 28 days to cure before sealing. Most homeowners choose either a penetrating sealer for a natural look or a film-forming acrylic for enhanced color and sheen.
TL;DR:
- Moisture and temperature conditions must be ideal, with at least 28 days of curing and a dry plastic sheet test indicating no excess moisture before sealing.
- Penetrating sealers are best for natural, matte finishes and low maintenance, while film-forming sealers provide a shiny appearance but require more frequent reapplication and careful application.
- Proper surface preparation, including cleaning, repairing cracks, and removing old sealer, is crucial to prevent sealant failure within the first year.
- Applying too soon, overapplication, or sealing on a slab with drainage or structural issues are common mistakes that reduce sealer effectiveness and durability.
- Long-term protection focuses more on water resistance and crack prevention than on creating a glossy, shiny surface.
Table of Contents
- What Are the Benefits of Sealing a Concrete Patio?
- When Is the Right Time to Seal a Concrete Patio?
- Which Concrete Sealer Type Should You Choose?
- How Do You Prep and Apply Concrete Sealer Correctly?
- What Are the Most Common Concrete Sealing Mistakes?
- What Do Pros Check Before Sealing a Patio?
- Does the Type of Patio Surface Change How You Seal It?
- What Safety Gear Do You Need to Seal Concrete?
- How Do You Maintain a Sealed Concrete Patio?
- A Straight Answer on What Actually Matters Here
- Let GC Signature Outdoors LLC Handle the Patio Work Itself
- Sources
- FAQ
What Are the Benefits of Sealing a Concrete Patio?
A sealed patio resists the damage an unsealed slab absorbs every season. Grease from the grill, red wine, leaf tannins, deicing salt. All of it soaks into bare concrete and stains permanently. Sealer closes the pores at the surface so spills wipe off instead of setting in.
The bigger win shows up in winter. Freeze-thaw cycles push water into unsealed concrete, and when that water freezes, it expands and pops flakes off the surface, a failure called spalling. A quality sealer blocks most of that water intrusion. Decorative slabs also get a bonus: UV-resistant sealers keep stamped or colored concrete from fading into a chalky gray.
- Stain resistance from oil, food, and organic debris
- Reduced spalling and surface flaking in freeze-thaw climates
- UV protection that preserves color on stamped or tinted concrete
- A richer, wet-look finish on decorative surfaces (with film-forming products)
Sealing is preservation, not repair. It won’t fix a cracked slab or correct poor drainage, and most sealers need reapplication every 2 to 5 years depending on foot traffic and sun exposure.
When Is the Right Time to Seal a Concrete Patio?
Timing wrecks more sealing jobs than bad product choice ever does. Three checks matter before you crack open a can: cure time, moisture, and weather.
- Wait 28 days on new concrete. Concrete keeps releasing water vapor as it cures, and sealing over that process traps moisture underneath the coating, causing bubbling or a milky haze within weeks.
- Run the plastic-sheet moisture test. Tape a 2x2 foot sheet of clear plastic to the slab, seal the edges, and leave it for 24 hours. Condensation underneath means the slab is still too wet to seal.
- Pick a dry window with moderate temperatures. Aim for 50 to 90 degrees Fahrenheit, no rain for at least 24 hours before or after application, and skip the hottest part of the afternoon since direct sun can flash-dry the sealer before it levels out.
- Plan on resealing every 2 to 5 years. A shaded patio with light foot traffic can stretch toward the long end; a pool deck or a south-facing slab in full sun will need attention sooner.
If the plastic sheet shows fog or beading, don’t force the schedule. Give it a few more days of warm, dry weather and test again.
Which Concrete Sealer Type Should You Choose?
Sealer choice comes down to one decision before any brand comparison: penetrating or film-forming.
Penetrating sealers (silane, siloxane, siliconate) soak into the concrete instead of sitting on top. They repel water and resist peeling in freeze-thaw regions, and because they don’t build a surface film, they rarely change the slab’s appearance or add much slip risk. They’re the lower-maintenance option, but they won’t add gloss or deepen color.
Film-forming sealers (acrylic, polyurethane, epoxy) create a visible topcoat that enhances color and adds sheen, which is why they’re popular on stamped and colored patios. The tradeoff: they need more frequent maintenance, can yellow or peel over time, and get slippery when wet unless you mix in an anti-slip additive.
- Choose penetrating if you want a natural matte finish and minimal upkeep
- Choose film-forming if you want a wet-look shine and are willing to reseal more often
- Add grit or a non-slip additive to any film-forming coat near a pool or shaded, damp area
- Avoid film-forming sealers on surfaces prone to standing water without drainage fixes first
Pro Tip: Test whichever sealer you’re considering on a small, inconspicuous corner first. It’s the only way to confirm how it will change the sheen and color of your specific slab, especially on stamped or tinted concrete, before you commit the whole patio.
How Do You Prep and Apply Concrete Sealer Correctly?
Surface prep isn’t a formality here. It’s roughly 80% of whether the sealer job holds up at all. Skipping steps to save an afternoon is the single most common reason a sealer fails within its first year.
Prep sequence:
- Clear furniture, planters, and debris off the entire slab.
- Sweep thoroughly, then treat any oil or grease spots with a degreaser.
- Strip failing sealer with a stripper or mechanical grinder. Coating over a delaminating layer just guarantees the same failure again.
- Patch cracks and chips and let repairs cure per the patch product’s instructions.
- Pressure-wash at moderate pressure. Too much PSI scars the surface instead of cleaning it.
- Let the slab dry 24 to 48 hours after washing, longer in humid conditions.
- Run the plastic-sheet moisture test one more time before opening the sealer.
Application technique:
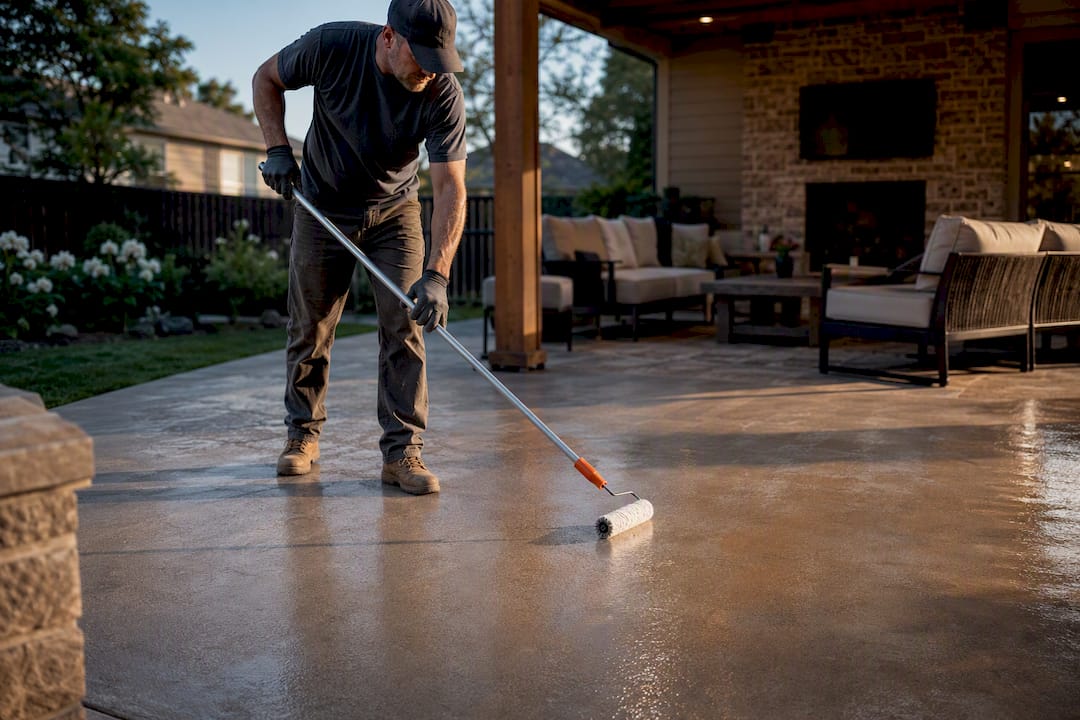
- Use a low-pressure pump sprayer for even coverage on larger slabs, and back-roll immediately behind it to work the sealer into the texture.
- Apply two to three thin coats rather than one heavy one. A thick single coat clouds, gets tacky, and delaminates far more often than thin, even layers.
- Maintain a wet edge as you move across the slab to avoid visible lap marks.
- Check the label for recoat window. Most products need 2 to 4 hours between coats, but humidity and temperature shift that range.
- Keep pets and foot traffic off for at least 24 hours, and hold off on moving furniture back for 48 to 72 hours depending on the product.
Dry to the touch and cured to full hardness are two different milestones. The label’s dry time tells you when it’s safe to walk on; the cure time, often a week or more, is when the sealer reaches full chemical hardness and stain resistance.
What Are the Most Common Concrete Sealing Mistakes?
Most sealing failures trace back to one of five root causes, and nearly all of them are avoidable with a little patience.
- Sealing too soon. A slab that hasn’t finished curing or hasn’t dried after washing traps vapor under the coating, showing up as white haze or cloudy patches within days.
- Overapplication. Piling on sealer to “make sure it’s protected” backfires. Excess product stays tacky, attracts dirt, and eventually needs full stripping and reapplication.
- Wrong product for the substrate. Some film-forming sealers don’t bond well over certain existing coatings or porous surfaces, leading to peeling or blotchy absorption.
- Slip hazard. Glossy film-forming sealers turn dangerously slick when wet. Mix in a non-slip additive on any patio near a pool, hot tub, or shaded area that stays damp.
- Ignoring drainage or structural issues. Sealer just puts a shine over problems it can’t fix, so cracked, heaving, or poorly sloped slabs need repair first.
Pro Tip: If you see cloudy white patches within a day or two of sealing, that’s almost always trapped moisture, not a bad product. Strip the affected area, let it dry fully, retest with the plastic sheet, then reapply.
Call a professional when you’re dealing with widespread delamination, a slab with drainage problems, or a patio large enough that maintaining a wet edge alone during application isn’t realistic.
What Do Pros Check Before Sealing a Patio?
A contractor walks a patio differently than most homeowners do before recommending a sealer. Three checks usually happen before the sprayer comes out.
- Moisture testing beyond the basic plastic sheet, especially on slabs near downspouts or low points where water pools after rain.
- Slope and drainage inspection. A patio that holds water against the house foundation or pools in a corner needs grading correction before sealing does anything useful.
- Control-joint condition. Joints that have failed or filled with debris need cleaning and resealing with joint sealant, separate from the surface sealer, or water will keep working its way underneath.
Even coverage on a large slab is harder to achieve by hand-rolling alone. Professional-grade sprayers combined with careful back-rolling cut down on lap marks and uneven sheen, and they finish the job in a fraction of the time a homeowner working with a garden sprayer would need.
Sometimes the right call isn’t sealing at all. A patio with a cracked or heaving slab, or drainage problems that need correcting first, needs repair or replacement before any sealer goes down. Putting a glossy coat over structural issues just makes them more visible, not less real.
Does the Type of Patio Surface Change How You Seal It?
Not every concrete patio behaves the same way under a sealer, and the finish you’re starting with changes both product choice and technique.
Stamped concrete has texture grooves that trap sealer if you overapply, leading to pooling and uneven sheen in the low spots. It also shows color variation more dramatically once sealed, since film-forming sealers deepen and saturate color far more than penetrating ones. Testing a hidden section first matters more here than on any other surface, because a stamped pattern that looks too dark or too glossy is hard to undo without stripping the whole patio.
Broom-finish concrete has a fine, consistent texture from the broom pass during installation. It typically takes sealer evenly and has fewer surprises, but that same texture also holds slightly more sealer per square foot, which makes the thin-coat rule even more important to avoid buildup.
Exposed aggregate patios show individual stones at the surface, and sealing here does double duty: it protects the stone from staining while also holding the aggregate in place against foot traffic. A film-forming sealer will brighten the stone color noticeably, sometimes more than homeowners expect, so a test patch is worth the extra day.
If you’re comparing patio materials from scratch rather than sealing an existing slab, it’s worth knowing how poured concrete stacks up against pavers for long-term maintenance, since pavers don’t require the same sealing schedule at all.
What Safety Gear Do You Need to Seal Concrete?
Concrete sealers, especially solvent-based acrylics and epoxies, off-gas fumes strong enough to cause headaches or respiratory irritation in an enclosed or poorly ventilated space.
Wear a respirator rated for organic vapors, not just a dust mask, when working with solvent-based products. Chemical-resistant gloves protect your skin from both the sealer and the degreasers used during prep. Safety glasses matter more than people expect, since sprayer overspray drifts on even light wind. Long sleeves and closed-toe shoes round out the basics, and skid-resistant footwear helps on a slab that’s already slick with wet sealer.
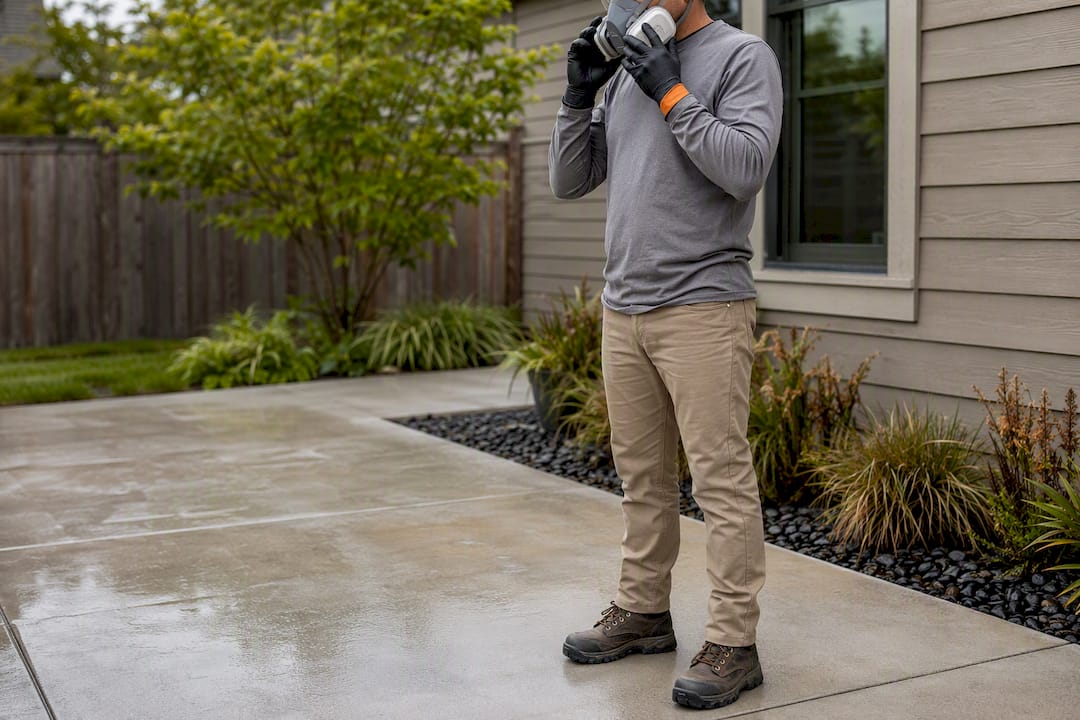
Ventilation matters even outdoors. Work with the wind at your back when spraying, keep children and pets away from the area during application and for the full dry window after, and read the manufacturer’s label for any specific first-aid or exposure precautions, since formulations vary by product.
How Do You Maintain a Sealed Concrete Patio?
A sealed patio still needs upkeep. It just needs less of it, and gentler cleaning products than an unsealed slab can tolerate.
Sweep regularly to keep grit from grinding against the sealer’s surface, since dirt and debris act like sandpaper under foot traffic over time. For routine cleaning, a mild dish soap and water solution handles most spills without attacking the sealer’s finish. Skip harsh degreasers, bleach, and acidic cleaners unless the sealer’s label specifically says they’re safe. Those products can dull the sheen or break down film-forming sealers well before their expected lifespan.
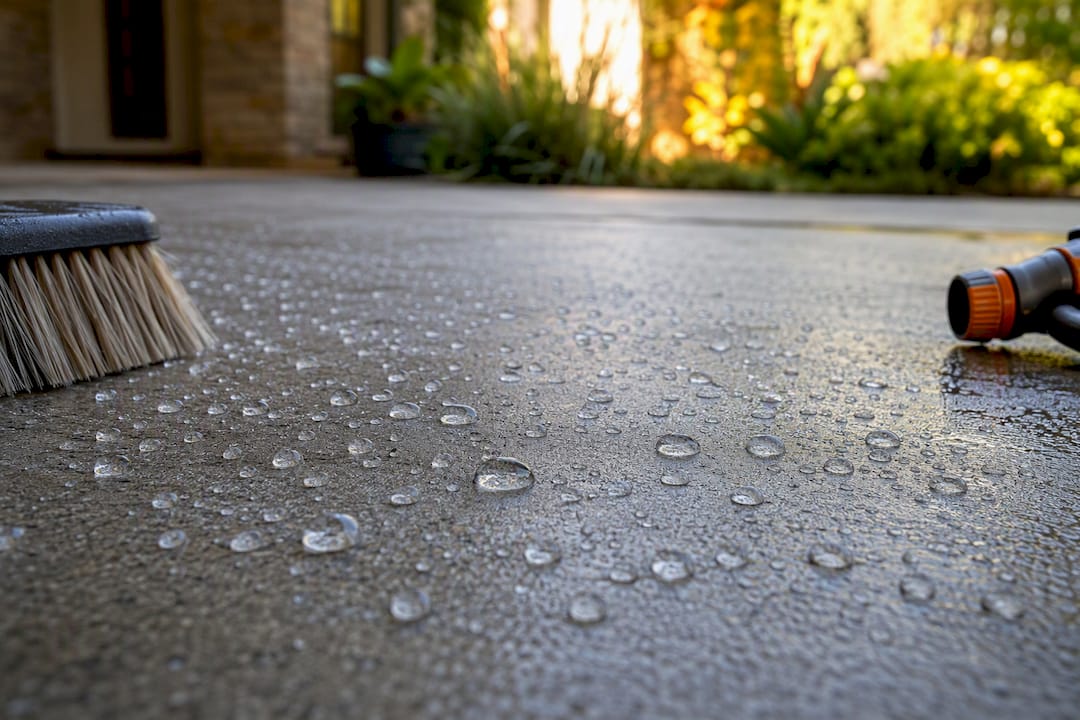
Rinse deicing salt off promptly in winter. Even sealed concrete can suffer from prolonged salt exposure, and salt residue also tracks indoors on shoes. Watch for early warning signs that a recoat is due: a matte, chalky patch where sheen used to be, or water that stops beading and instead soaks in flat. Those visual cues, more than a strict calendar date, tell you when it’s time to reseal within that 2 to 5 year window.
A Straight Answer on What Actually Matters Here
Homeowners chase shine. That’s the instinct, and it’s not wrong, but it’s the wrong priority to lead with. Long-term protection against water intrusion and freeze-thaw damage matters more than how glossy the patio looks the day you finish rolling.
When we’re asked to weigh in on a project, we lean toward penetrating sealers for patios in full sun or heavy freeze-thaw exposure, and film-forming only when a homeowner specifically wants the color pop on a stamped or decorative slab and understands the maintenance tradeoff that comes with it.
If you’re getting quotes from a contractor, ask three things: how they test for moisture before sealing, whether prep includes stripping any failed sealer rather than coating over it, and what their reapplication timeline looks like for your specific sun and traffic exposure.
— GC Signature Outdoors LLC
Let GC Signature Outdoors LLC Handle the Patio Work Itself
Sealing only works if the slab underneath is sound, properly sloped, and free of the cracks or drainage issues that no amount of coating can fix. GC Signature Outdoors LLC builds and repairs concrete patios and driveways throughout Smithville, Platte City, and Kearney, so when a patio needs more than a fresh coat of sealer, that repair work and the sealing happen as one project instead of two separate headaches.

Handling the parts homeowners find hardest to get right on their own includes grading and drainage correction, crack repair, joint work, and ensuring even coverage on large slabs using professional sprayers and back-rolling technique. If your patio is showing spalling, pooling water, or a sealer that’s failed and needs stripping before redoing, request an inspection or quote and we’ll walk the slab with you before recommending a fix.
Sources
- How to Seal Concrete (Concrete Network)
- Common mistakes when applying concrete sealer (Valence Supply)
- How to Seal Concrete (SlabCalc guide)
- Tips for sealing stamped concrete (Brickform)
FAQ
Is It Worth It to Seal a Concrete Patio?
Yes, for most patios. Sealing protects against staining, spalling in freeze-thaw climates, and UV fading, and it typically costs far less over time than repairing an unsealed slab that’s absorbed years of damage.
What Is the Best Way to Seal a Concrete Patio?
Wait for full cure and a passed moisture test, prep thoroughly, then apply two to three thin coats with a sprayer and back-roller rather than one heavy coat. Choose penetrating sealer for a natural finish or film-forming for color and gloss.
What Are the Downsides of Using Concrete Sealer?
Film-forming sealers can become slippery when wet, need reapplication more often than penetrating types, and can yellow, peel, or cloud if applied incorrectly. Sealing also can’t fix cracks, drainage problems, or structural damage.
Is Sealing a Patio a Good Idea If It Already Has Cracks?
Sealing over active cracks or drainage problems just hides them temporarily; those issues need repair first, since a glossy coat over a structural flaw makes it more visible once wet or dirty, not less.
Recommended
Ready to get started in Kansas City's Northland?
GC Signature Outdoors serves Smithville, Platte City, Kearney, Liberty, and surrounding areas.