
Outdoor Kitchen Layout: A Practical Planning Guide
Outdoor Kitchen Layout: A Practical Planning Guide
For most homeowners, an island layout is the best outdoor kitchen layout when entertaining is the priority. It keeps the cook facing guests, creates natural gathering space on three sides, and works well on open patios with at least 12 feet of clearance in each direction. If your space runs along a wall or fence, or you need clear separation between the cooking and serving zones, an L-shaped layout handles that better with a smaller footprint.
Two things to lock in before anything else: tape your footprint on the actual patio surface, and sketch where gas, electrical, and water will enter the space. Every expensive rework in outdoor kitchen builds traces back to one of those two things being skipped.
Quick actions you can take today:
- Lay painter’s tape on the patio in the shape of your planned layout and walk through a simulated cooking session
- Note the prevailing wind direction so you can orient the grill to push smoke away from seating
- Photograph your indoor kitchen’s workflow for reference when placing zones outdoors
- Mark where your gas shutoff, electrical panel, and hose bib are located relative to the build site
Pro Tip: Photograph your indoor kitchen from the cook’s position. The flow that feels natural inside, prep left, grill center, sink right, is usually the right starting point for your outdoor design.
The Coyote Outdoor Living design tool lets you drag and drop appliances into a layout before committing to anything structural, which is a useful sanity check before you call a contractor.
Key Takeaways
The best outdoor kitchen layout pairs your entertaining style with your available footprint, and the decisions that matter most happen before construction starts.
| Point | Details |
|---|---|
| Choose layout by use | Island suits open entertaining; L-shaped fits corners and mixed cook-serve needs. |
| Centralize the grill | Build every zone around the grill first, with 18–24 in. of landing space on each side. |
| Plan utilities before hardscaping | Retrofitting gas, electrical, and drainage under a finished patio costs significantly more. |
| Size counters generously | Extra counter space is rarely regretted; plan landing zones around every major appliance. |
| Use outdoor-rated materials | Dekton, granite, marine-grade polymer, and powder-coated aluminum outlast indoor-grade alternatives outdoors. |
| GC Signature Outdoors LLC | Handles full outdoor kitchen builds in KC Northland, from site prep to appliance installation. |
Table of Contents
- What outdoor kitchen layout works best for your space?
- How do you plan zones and clearances for an outdoor kitchen?
- Which appliances belong in an outdoor kitchen and where?
- What materials hold up best in an outdoor kitchen?
- What permits and utilities do you need to plan for?
- What mistakes do most homeowners make when planning an outdoor kitchen?
- What drives the budget and timeline for an outdoor kitchen build?
- How do you design an outdoor kitchen in five steps?
- When should you hire a landscape contractor?
- How do you integrate seating and dining into the kitchen layout?
- How does your climate affect the layout you should choose?
- Storage solutions that actually work in an outdoor kitchen
- Lighting your outdoor kitchen for function and ambiance
- What we’ve seen work in the field
- Ready to build your outdoor kitchen in KC Northland?
- Sources
- FAQ
What outdoor kitchen layout works best for your space?
Matching a layout shape to your actual yard, cooking habits, and guest count is the first real decision. Here is how each shape performs in practice.
Island
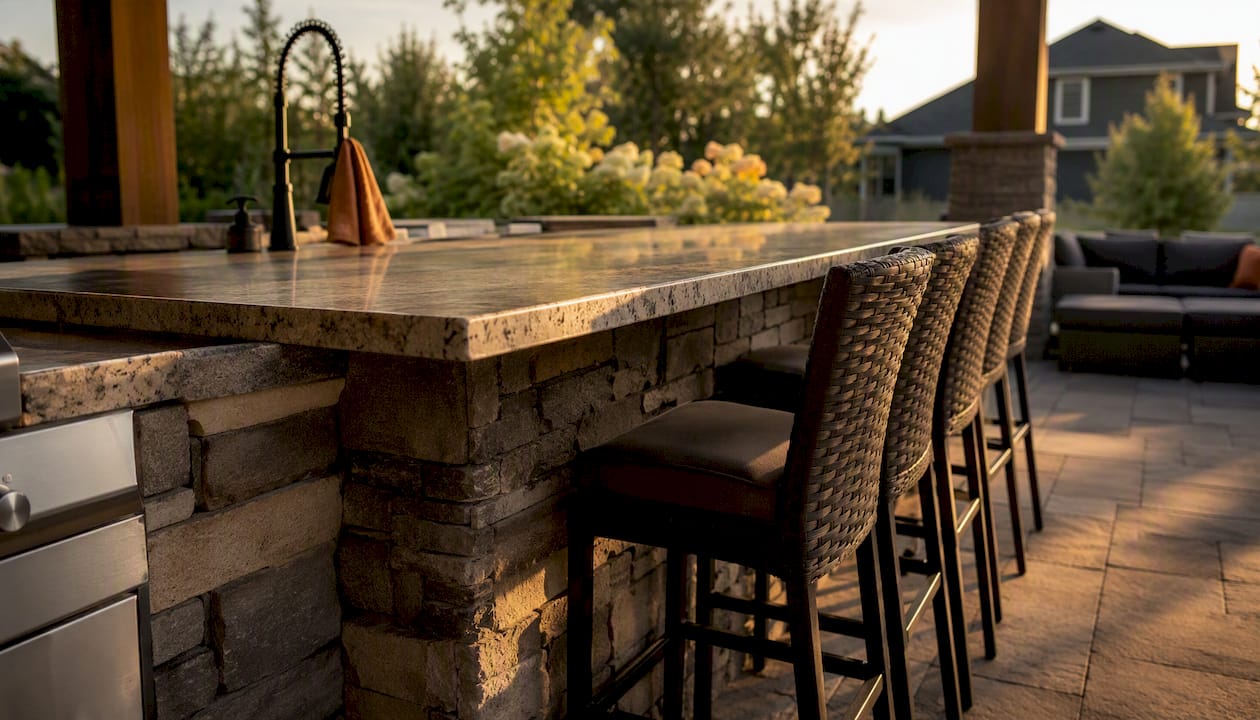
An island sits freestanding in open space, accessible from all sides. It suits homeowners who entertain frequently and want guests to gather around the cook rather than stand off to the side. A functional island needs roughly 10 by 5 feet of counter structure, plus 42–48 inches of clear walkway on every side. That adds up fast: plan for at least a 20 by 20 foot open area before committing to this shape.
L-shaped
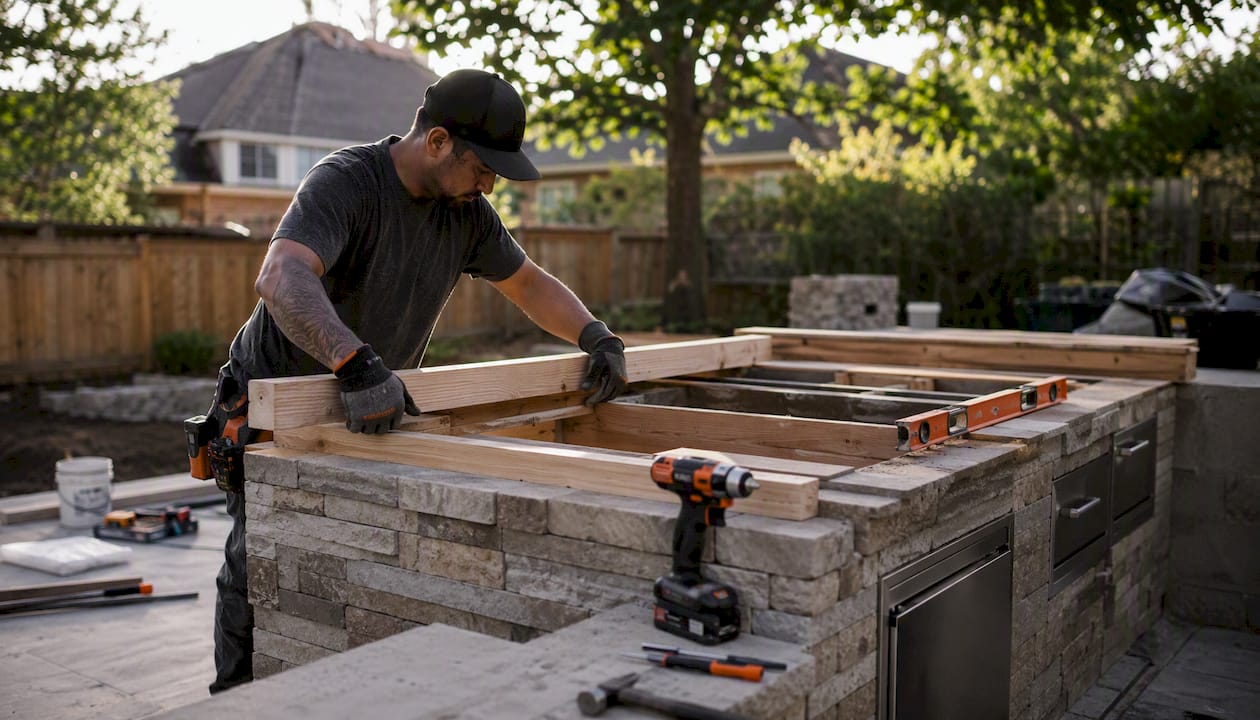
The L-shape uses two perpendicular runs, typically one longer cooking run and one shorter prep or serving run. It fits naturally into a corner of a patio or deck, uses the wall or fence as a backdrop, and separates hot and cold zones cleanly. Most L-shaped builds run 10–12 feet on the long side and 6–8 feet on the short side. This is the layout that planning guides consistently recommend for homeowners who cook regularly but don’t have unlimited open space.
Linear (one-wall)
A single straight run along one wall or fence. Compact, affordable to build, and easy to utility-route since everything lines up. The trade-off is that the cook faces away from guests the entire time. Works well for smaller patios or as a first-phase build you plan to expand later.
Galley
Two parallel runs facing each other, like a ship’s galley. Efficient for high-volume cooking because everything is within arm’s reach, but it channels traffic into a corridor and doesn’t suit entertaining well. Best for homeowners who cook seriously and want a dedicated outdoor prep kitchen rather than a social hub.
U-shaped
Three connected runs forming a U. Maximum counter space and storage, but it requires significant square footage (typically 15 by 15 feet or more) and can isolate the cook inside the U. A good fit for homeowners building a full outdoor room with a pergola or pavilion overhead.
Peninsula
A peninsula attaches to the house or a wall on one end and extends outward, accessible from three sides. It splits the difference between an island and a linear layout. Useful when you want island-style guest access but need to keep utility runs short by staying close to the house.
Grill sizing rule of thumb: plan for 72–100 square inches of grill surface per person for your typical party size. A 500 square inch grill handles 5–7 guests comfortably.
| Layout | Best for | Typical footprint | Utility complexity |
|---|---|---|---|
| Island | Entertaining, open patios | 10 ft x 5 ft structure + 42–48 in clearance all sides | Moderate (runs must reach center) |
| L-shaped | Corner spaces, mixed cooking/serving | 10–12 ft x 6–8 ft | Low to moderate |
| Linear | Small patios, starter builds | 8–12 ft run | Low |
| Galley | High-volume cooking, dedicated prep | Two 8–10 ft parallel runs | Moderate |
| U-shaped | Full outdoor rooms, max storage | 15 ft x 15 ft minimum | High |
| Peninsula | Semi-open access, close utility runs | 10–12 ft extension | Low to moderate |
How do you plan zones and clearances for an outdoor kitchen?
The four zones that make an outdoor kitchen functional are hot (grill, burners, pizza oven), cold (refrigerator, ice maker, beverage center), wet (sink, prep area), and dry/storage (drawers, cabinets, tool storage). The golden rule: never place cold directly beside hot. A refrigerator next to a grill works against both appliances and shortens the fridge’s lifespan. Put at least 18–24 inches of counter between them.
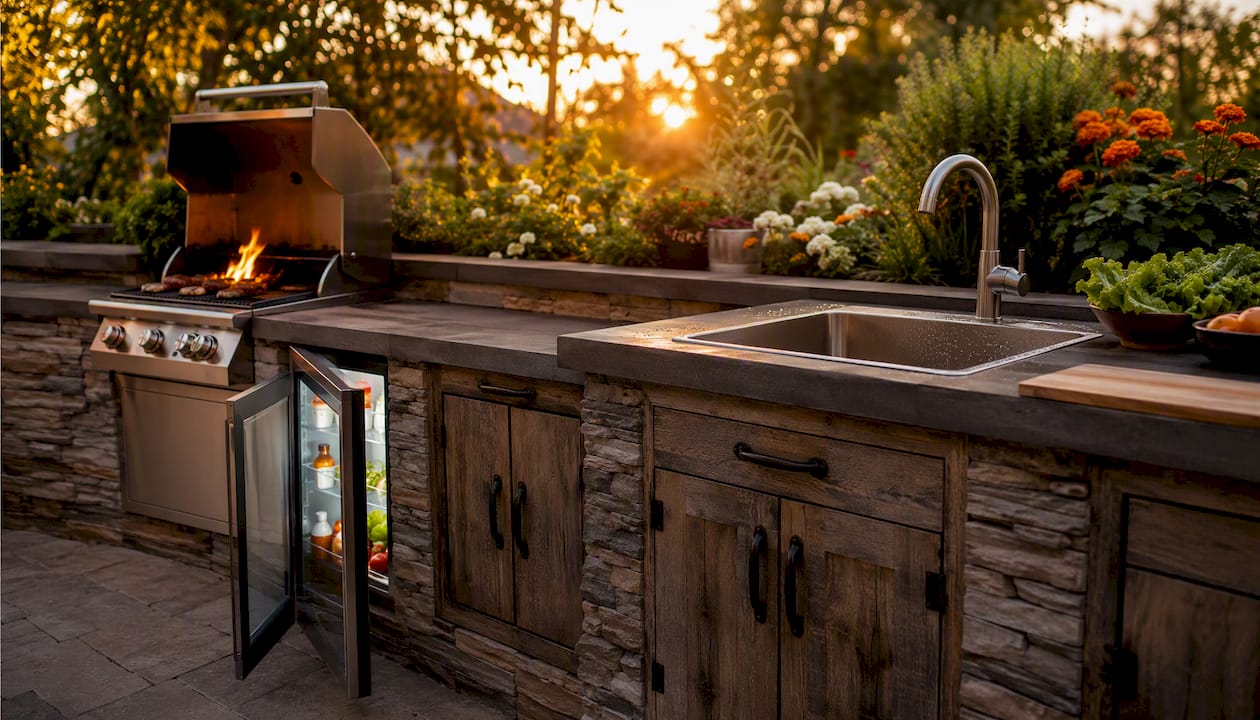
Clearance recommendations include a minimum clearance behind the grill for safety, comfortable space in zones where guests gather alongside the cook, appropriate width per bar stool along counters or island overhangs, landing space on each side of the grill, and standard counter depths. These measures help ensure safe and efficient use.
Traffic flow is where most homeowners underestimate the design. The cook should face the party, not a wall or fence. Orient the grill so the prevailing wind carries smoke away from seating areas and open windows or doors. On a covered build, this also affects where you place a vent hood.
Pro Tip: After taping the layout, have someone stand at the grill while you walk the serving path with a plate in each hand. If you bump into anything or feel cramped, widen the corridor before you pour concrete.
Taping out the footprint and simulating cooking before any permanent work begins is the cheapest mistake-catcher available. Do it twice: once for cooking flow, once for a full party scenario with chairs pulled out.
Measurements to capture before contacting a contractor:
- Total patio dimensions (length, width, any obstructions)
- Distance from gas shutoff, electrical panel, and water supply to the build site
- Prevailing wind direction and primary sun exposure angle
- Distance from the build site to the nearest door or window
- Any grade changes or drainage slopes across the site
Which appliances belong in an outdoor kitchen and where?
The grill is the centerpiece. Everything else organizes around it. Build the layout around the grill first, then place supporting appliances in their zones.
Core appliances by priority:
- Built-in grill (non-negotiable anchor)
- Refrigerator or beverage center (cold zone, away from grill heat)
- Sink with planned drainage (wet zone, near prep area)
- Side burner or griddle (hot zone, adjacent to grill)
- Storage drawers and cabinets (dry zone, flanking the layout)
Optional extras worth considering:
- Pizza oven: high impact for a specific use case; adds significant footprint and cost
- Ice maker: practical for frequent entertaining, especially in warm climates
- Warming drawers: useful for large gatherings where timing is staggered
- Dishwasher: a genuine convenience upgrade if you’re building a full outdoor room
- Smoker: niche but increasingly requested; needs its own ventilation plan
Designers in 2026 are seeing longer appliance wish lists, with beverage fridges and ice makers near the cook station ranking high because they reduce trips back to the indoor kitchen. Place the beverage center within arm’s reach of the serving counter, not tucked at the far end of the layout.
Every appliance in an outdoor kitchen must be rated for outdoor use. An indoor refrigerator exposed to temperature swings, humidity, and direct sun will fail within a season or two. Brands like Sub-Zero, Wolf, and Cove build appliances specifically engineered for outdoor exposure, with sealed components and finishes that resist corrosion. They represent the high-performance end of the market; outdoor-rated mid-range options exist, but verify the rating before purchasing.
Placement sequence for a linear layout: storage left, sink and prep center-left, grill center, side burner center-right, refrigerator far right with landing counter between grill and fridge.
For an L-shape: run the hot zone (grill, burner) along the long side, and the cold and wet zones along the short side, with the corner used as a landing zone or bar counter.
What materials hold up best in an outdoor kitchen?
Countertops take the most abuse outdoors: heat, UV, rain, and freeze-thaw cycles. Dekton and granite are the two most reliable choices. Dekton handles heat and UV exceptionally well and requires minimal sealing. Granite is durable and widely available, though it needs sealing once or twice a year in most climates. Concrete counters work well but require consistent sealing and can crack in severe freeze-thaw conditions without proper substrate prep.
Avoid untreated quartz outdoors. Most quartz manufacturers void warranties for outdoor use because the resin binders degrade under UV exposure. Delicate tile with wide grout joints traps moisture and cracks.
For cabinets, the three reliable options are marine-grade polymer, powder-coated aluminum, and stainless-steel fronts. Professional designers increasingly treat outdoor cabinetry like boatbuilding, specifying marine-grade hardware and specialty materials for coastal durability. In the KC Northland area, where summers are humid and winters bring freeze-thaw cycles, powder-coated aluminum frames with stainless-steel or polymer panels are a practical standard. Avoid wood cabinetry unless it is specifically engineered for exterior exposure and you commit to annual maintenance.
2026 trends emphasize corrosion resistance and sustainability in material choices, with interior-grade finishes increasingly being specified for covered outdoor rooms where shelter reduces direct exposure.
Material choices by climate exposure:
- High sun/UV: Dekton counters, powder-coated aluminum cabinets, porcelain tile flooring
- Coastal/salt air: marine-grade polymer cabinets, 316-grade stainless hardware, sealed granite
- Freeze-thaw (Midwest): granite or Dekton counters, polymer or aluminum cabinets, concrete pavers rated for freeze-thaw
- High humidity: stainless or polymer cabinets, sealed concrete or Dekton counters
For flooring under and around the kitchen, choose slip-resistant porcelain tile or concrete pavers rated for outdoor use. Check the pavers vs. concrete comparison for the KC Northland climate before deciding on your base surface.
Pro Tip: Seal granite counters before the first use and again each spring. Skipping one season in a freeze-thaw climate can let moisture penetrate and cause surface spalling.
What permits and utilities do you need to plan for?
Utility routing is where projects get expensive when it’s left too late. Retrofitting gas, electrical, water, and drainage under a finished patio costs significantly more than routing them during initial construction. Plan every utility line before the first paver goes down.
Utilities to plan:
- Natural gas or propane line to the grill and any side burners (requires a licensed plumber or gas fitter in most jurisdictions)
- Dedicated GFCI electrical circuits for refrigerators, lighting, outlets, and any powered appliances
- Cold water supply and drain line for the sink (drainage must slope to a dry well, storm drain, or existing plumbing)
- Ventilation for any grill or smoker installed under a covered structure
When permits are typically required:
- Gas line installation or extension
- New electrical circuits or panel work
- Structural covers (pergolas, pavilions, attached roofs)
- Plumbing connections to the municipal supply or sewer
- Any structure over a certain square footage (varies by municipality)
Check with your local building department before breaking ground. In the Kansas City metro area, permit requirements vary by municipality, and some jurisdictions require inspections at multiple stages of the build.
Safety checklist:
- Maintain required clearances from combustible materials (check grill manufacturer specs, typically 24–36 inches)
- Install an outdoor-rated vent hood if the grill sits under a covered structure
- Use GFCI outlets at all outdoor electrical locations
- Ensure the gas shutoff is accessible and clearly marked
Get a site utility sketch done early. Knowing where your gas, electrical, and water lines run underground prevents costly surprises during excavation.
What mistakes do most homeowners make when planning an outdoor kitchen?
The most common regret is building too small. The biggest planning mistakes are ignoring workflow, underestimating ventilation, and building a kitchen that’s too small. Counter space is almost always the first thing homeowners wish they had more of, and extra counter space is rarely regretted.
Mistakes to avoid:
- Placing the refrigerator directly beside the grill (heat degrades the fridge and shortens its life)
- Skipping ventilation planning on covered builds (a vent hood is not optional under a pergola or pavilion)
- Delaying utility planning until construction starts (this is the single most expensive mistake)
- Choosing the site for aesthetics alone without checking wind, sun, and utility access
- Installing indoor-rated appliances outdoors
- Underestimating lighting needs (a dark grill area at 8 PM is a real safety issue)
- Forgetting storage for covers, tools, and cleaning supplies
Pre-contract checklist:
- Confirm utility routing is documented in the plan
- Verify all specified appliances carry outdoor ratings
- Check that counter space includes at least 18–24 inches of landing zone on each side of the grill
- Confirm ventilation is specified for any covered grill position
- Review traffic flow: can two people pass each other in every corridor?
Pro Tip: Ask your contractor to show you the utility routing plan before signing. If they can’t produce one, that’s a signal to keep looking.
What drives the budget and timeline for an outdoor kitchen build?
Several variables push a project into longer timelines or higher complexity, and understanding them helps you set realistic expectations before the first conversation with a contractor.
Budget drivers:
- Site preparation (grading, drainage, existing patio removal)
- Utility routing distance and complexity (longer runs cost more)
- Custom cabinetry vs. modular systems
- Outdoor-rated appliance selection (performance brands add significant cost)
- Countertop material (Dekton and granite cost more than tile or concrete)
- Shelter structures (pergolas and pavilions add both cost and permit complexity)
- Site drainage solutions
Timeline factors:
- Permit lead times (2–6 weeks in many KC metro municipalities)
- Utility contractor scheduling (electricians and plumbers book out)
- Foundation or paver work (curing time adds days)
- Appliance lead times (some outdoor-rated units ship in 4–8 weeks)
- Contractor availability (spring and summer are peak season)
A straightforward linear build on an existing patio with utilities nearby can move from permit to completion in 4–6 weeks. A full outdoor room with a pergola, custom cabinetry, and new utility runs typically takes 10–16 weeks from design sign-off to final inspection.
Staged builds are a practical option. Build the core structure with utility rough-ins for future appliances now, then add a pizza oven or ice maker in a later phase. The key is protecting the utility and structural allowances in the original build so additions don’t require tearing anything apart.
Pro Tip: Ask your contractor to rough in gas and electrical for appliances you’re not installing yet. The marginal cost during construction is small; the cost to add them later is not.
For a local perspective on what drives project complexity in the KC Northland area, the outdoor kitchen cost guide from GC Signature Outdoors LLC covers the factors that shape project scope without publishing figures that vary too much to be useful.
How do you design an outdoor kitchen in five steps?
A clear sequence prevents the most common planning errors and gets you to a contractor-ready plan faster.
- Define the use case. How many people do you typically cook for? Is this a weekend grill station or a full entertaining kitchen? Your answers determine grill size, counter length, and whether you need a sink and refrigerator or just a grill and a cooler shelf.
- Measure and tape the footprint. Mark the full layout on the patio with painter’s tape. Walk it. Sit in the chairs. Simulate cooking. Adjust before anything is permanent.
- Choose a layout shape and assign zones. Place the hot zone (grill, burners) first, then cold (fridge, beverage center), wet (sink), and dry/storage. Confirm clearances meet the minimums covered above.
- Lock the utilities plan. Document gas entry point, electrical circuit location, water supply, and drain routing. Share this with your electrician and plumber before finalizing the layout.
- Create a plan and request bids. A simple hand sketch with dimensions works for contractor conversations. For a more detailed preview, the Coyote Outdoor Living design tool lets you build a 3D layout with real appliance dimensions. For hardscape inspiration and layout ideas, Belgard’s outdoor kitchen gallery shows finished projects with material callouts. When specifying high-performance appliances, Sub-Zero, Wolf, and Cove are the benchmark brands for outdoor-rated equipment.
Contractor-ready checklist to print or save:
- Site dimensions (length, width, obstructions)
- Utility access points (gas, electric, water, drain)
- Preferred layout shape
- Appliance list with outdoor ratings confirmed
- Shelter or cover requirements
- Permit requirements confirmed with local building department
Pro Tip: Bring your taped-layout photos and a hand sketch to the first contractor meeting. It cuts the discovery conversation in half and signals that you’re a prepared client.
When should you hire a landscape contractor?
Some tasks are genuinely DIY-friendly: choosing appliances, taping the layout, researching materials. Others carry real risk or require licensed trades.
Hire a pro when:
- The build involves new gas lines or electrical panel work
- You’re adding a structural cover (pergola, pavilion, or attached roof)
- The site has drainage issues, a slope, or requires a retaining wall
- You want integrated plumbing with a sink and drain
- The project involves paver or concrete foundation work
- You want a fully engineered outdoor room with coordinated trades
What a professional contractor typically delivers:
- Site survey and utility coordination
- Permit applications and inspections
- Foundation or paver installation
- Cabinetry framing and finishing
- Appliance installation and connection
- Warranty and maintenance guidance
Pro Tip: Request a portfolio of completed outdoor kitchen builds, not just patio work. The skill sets overlap but aren’t identical. A contractor who has built outdoor kitchens before will ask better questions during the site visit.
GC Signature Outdoors LLC handles the full scope of outdoor living builds in Smithville, Platte City, Kearney, and the broader KC Northland area, including site prep, paver work, utility coordination, and outdoor kitchen construction. The outdoor living portfolio shows completed projects with the kind of detail that helps homeowners calibrate expectations before the first conversation.
How do you integrate seating and dining into the kitchen layout?
The kitchen and the dining area should feel like one connected space, not two separate zones that happen to share a patio. The most effective approach is to design the seating position first, then orient the grill and cook station to face it.
Bar-height seating along an island or peninsula counter keeps guests close to the cook without crowding the work zone. Allow 24 inches of counter width per stool and 12–15 inches of knee clearance under the overhang. A separate dining table works better for larger groups or when you want a clear distinction between cooking and eating. Position it within easy serving distance of the kitchen, typically 6–10 feet from the counter edge, with a clear path that doesn’t cross the cook’s work zone.
For covered builds, designers now specify pergolas and pavilions with integrated lighting, fans, heaters, and retractable screens so the entire space functions as an outdoor room regardless of weather. That framing changes how you think about seating: instead of placing chairs around a grill, you’re furnishing a room that happens to have a grill in it.
How does your climate affect the layout you should choose?
In the KC Northland area, three climate factors shape layout decisions: summer heat and humidity, freeze-thaw winters, and spring storm seasons with variable wind.
Orient the grill so the prevailing southwest wind carries smoke away from seating and the house. On a covered build, this also determines where the vent hood exhausts. Sun exposure matters for refrigerator placement: a fridge in direct afternoon sun works harder and wears faster. Shade it with the structure itself or position it on the north or east side of the layout.
For winter, any plumbing in the outdoor kitchen needs a shutoff and drain-down valve so pipes don’t freeze. Countertop materials should be rated for freeze-thaw cycling. Propane tanks lose pressure in cold weather, so natural gas is the more reliable fuel source for year-round use in the Midwest.
Rain protection is increasingly a design priority rather than an afterthought. A pergola or pavilion over the kitchen extends the usable season significantly and protects appliances and cabinetry from direct precipitation, which matters for longevity in a climate with 40-plus inches of annual rainfall.
Storage solutions that actually work in an outdoor kitchen
Storage is consistently underplanned. Most homeowners allocate drawer and cabinet space for the appliances they’re installing and forget about everything else: grill covers, cleaning supplies, propane accessories, serving platters, and the miscellaneous tools that accumulate around an outdoor kitchen.
Plan dedicated storage for covers. A grill cover that has no home ends up on the ground or draped over a chair. A simple cabinet or drawer sized for the cover keeps the space looking clean and protects the cover itself.
Drawer banks flanking the grill are the most efficient use of space in any layout. Deep drawers handle utensils, thermometers, and grilling tools. Shallower drawers work for spices, foil, and small accessories. Under-counter cabinets with doors suit propane tanks, cleaning supplies, and larger items.
For an island layout, the interior of the island structure is often wasted space. Plan access doors on the non-cooking sides to use that volume for storage. Locking cabinets make sense for anything you’d rather not leave accessible to guests or weather.
Lighting your outdoor kitchen for function and ambiance
Lighting in an outdoor kitchen serves two distinct jobs: task lighting so you can actually see what you’re cooking, and ambient lighting so the space feels inviting after dark. Most builds underinvest in the first and overinvest in the second.
Task lighting belongs directly over the grill and prep counter. Under-cabinet LED strips or recessed fixtures in a pergola overhead positioned directly above the work surface are the most effective options. The goal is shadow-free light on the cooking surface, not general brightness in the area.
Ambient lighting works best in layers: string lights or LED strips along the pergola perimeter, low-voltage path lighting around the patio edge, and accent lighting on any architectural features. Dimmer switches on ambient circuits let you shift from bright and functional during cooking to warm and relaxed during the meal.
Don’t forget the inside of cabinets. Motion-activated LED strips inside drawer banks and cabinet interiors make finding tools at night dramatically easier and cost almost nothing to add during construction.
What we’ve seen work in the field
The homeowners who end up happiest with their outdoor kitchens are the ones who spent more time on the planning phase than they thought necessary. Not on appliance research or tile samples, but on the basics: taping the footprint, walking the traffic flow, and locking in utilities before a single paver was moved.
The most consistent pattern in builds that disappoint is the same one planning guides flag repeatedly: the kitchen was sized for the budget rather than the use. A smaller, well-planned layout with proper clearances, outdoor-rated materials, and utilities routed correctly from the start outperforms a larger build that cut corners on those fundamentals every time.
GC Signature Outdoors LLC serves homeowners across Smithville, Platte City, Kearney, and the KC Northland area with outdoor living builds that include site prep, paver and concrete work, utility coordination, and full outdoor kitchen construction. The recommendation to tape the layout and test it before calling a contractor isn’t a throwaway tip. It’s the single step that produces the most useful site visit conversation.
Ready to build your outdoor kitchen in KC Northland?
GC Signature Outdoors LLC builds complete outdoor kitchens for homeowners across Smithville, Platte City, Kearney, and the KC Northland area, handling everything from site prep and paver work to utility coordination and appliance installation. No juggling multiple contractors, no gaps between trades.

The difference between a kitchen that works and one that frustrates comes down to planning: clearances, utility routing, and material choices made before construction starts. That’s exactly where a site visit pays off. Browse the completed outdoor living projects to see what’s been built locally, then reach out through the outdoor living service page to schedule a site visit and get a project-specific plan for your space.
Sources
Short list of trusted references for deeper research:
- How to build an outdoor kitchen | This Old House
- What outdoor kitchens look like in 2026 | ELLE Decor
- 8 Outdoor Kitchen Trends You’ll See Everywhere in 2026 | Homes and Gardens
- How to design and build an outdoor kitchen | Yale Appliance blog
- Outdoor Kitchen Planning Guide | Outdoor Kitchen Appliance
- 10 Outdoor Kitchen Mistakes to Avoid | TheDesignery
FAQ
What is the best layout for an outdoor kitchen?
An island layout works best for open patios where entertaining is the priority, keeping guests around the cook on three sides. An L-shaped layout is the better choice for corner spaces or when you need clear separation between cooking and serving zones.
What are the most common outdoor kitchen mistakes?
The most common mistakes are building too small, placing the refrigerator next to the grill, skipping ventilation on covered builds, and delaying utility planning until construction is underway. Counter space is the most frequently regretted shortcut.
What are the outdoor kitchen trends for 2026?
Designers are seeing strong demand for integrated shade structures (pergolas and pavilions with lighting, fans, and heaters), beverage centers near the cook station, and materials that prioritize corrosion resistance and durability over purely decorative finishes.
Is it cheaper to build or buy an outdoor kitchen?
Modular prefab outdoor kitchen systems typically cost less upfront than a fully custom built-in build, but they offer less flexibility in layout, appliance choice, and integration with your specific patio. A custom build coordinated by a contractor like GC Signature Outdoors LLC is the better fit when you want a specific layout, utility connections, or a structure that integrates with existing hardscaping.
Recommended
Ready to get started in Kansas City's Northland?
GC Signature Outdoors serves Smithville, Platte City, Kearney, Liberty, and surrounding areas.